DIY
HOW TO CONVERT KEVENTER BOTTLES INTO PLANTERS
“How to convert Keventer bottles into planters” is really easy and quick DIY. It will help in upcycling your Keventer or any beer/ wine bottles and also adding greens to every corner of your home.

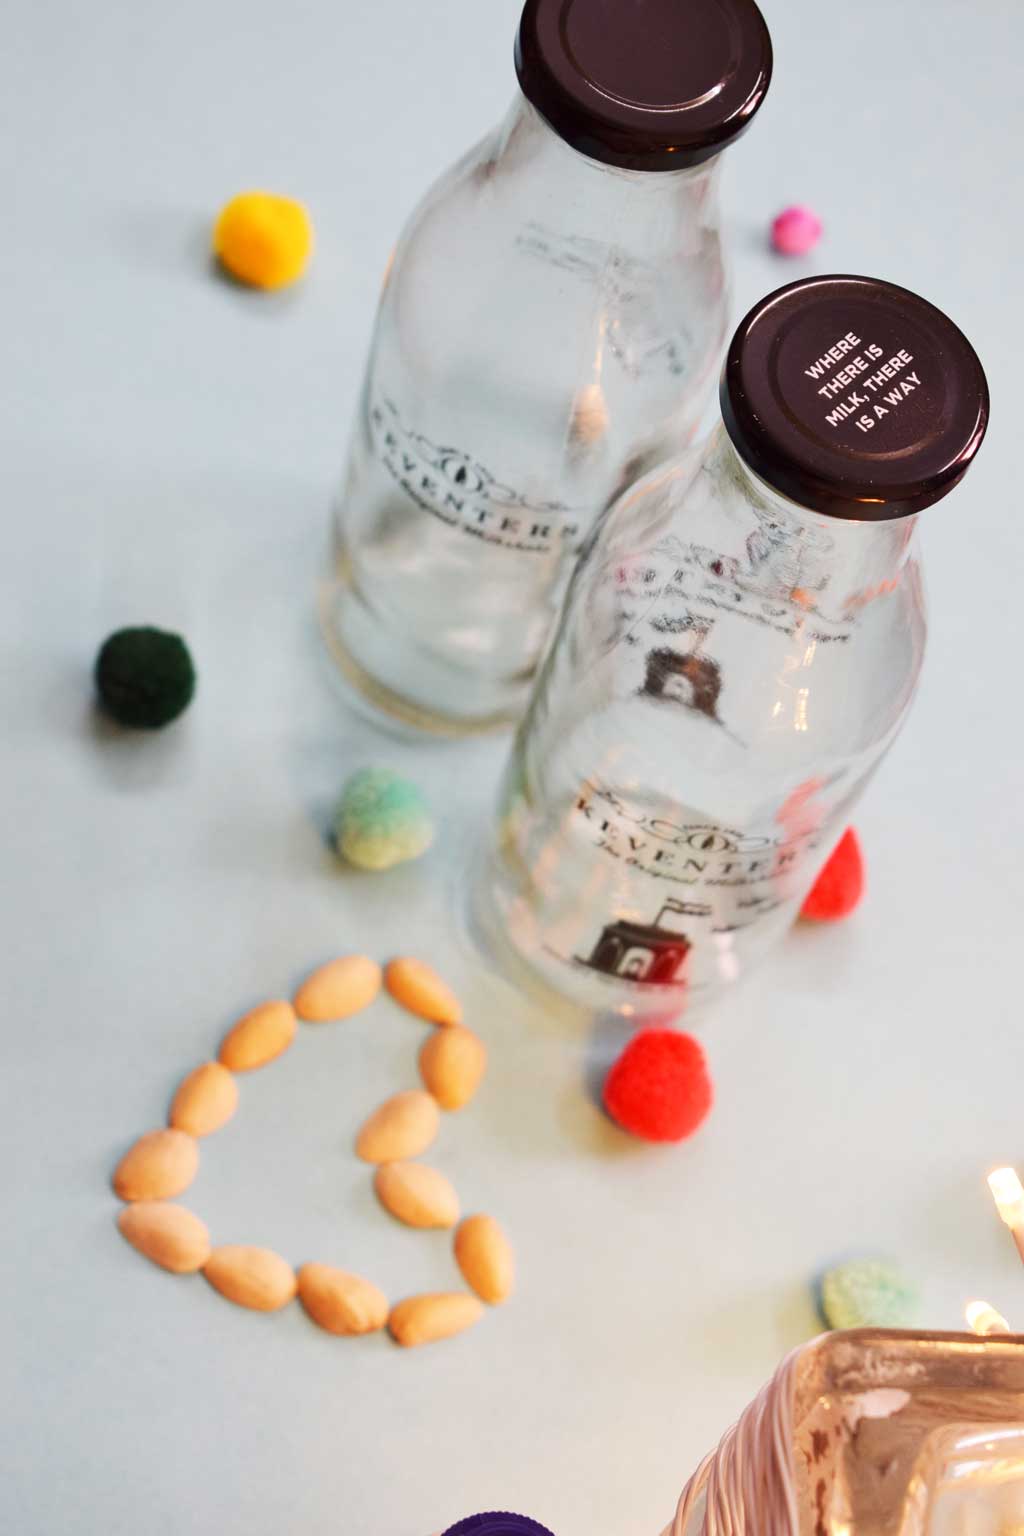
Plants are something which adds peppiness not only to outdoors but also to an indoor environment. I majorly flow with the places which have plants and greens. For that reason, I always keep at least one plant with me wherever I stay. Right now I am staying in a hostel room and I kept a bamboo plant with me. The reason for keeping indoor plants is that it feels nice, nice in terms of energy, productivity, freshness and mainly, it makes me happy and this is why that I would like to add few more plants to my room. This DIY is for making planter with Keventer bottles that I keep collecting after having Keventer’s shake. Keventer is encouraging customers to take glass bottle with themselves and using it as a marketing strategy. It’s good. There are thousands of ways of using any glass bottle and I am not trying to innovate another way of using it. It’s just I am doing it in a rustic way. Trying to give it a rustic look. So, Lets starts…..
Supplies you’ll need:
- Keventer/Wine bottle
- Rose Gold/Copper Spray Paint
- Jute Yarn
- Glue
- Scissors
Process:
Step 1: Firstly, clean the bottle with soapy water and after cleaning it, leave it for drying.
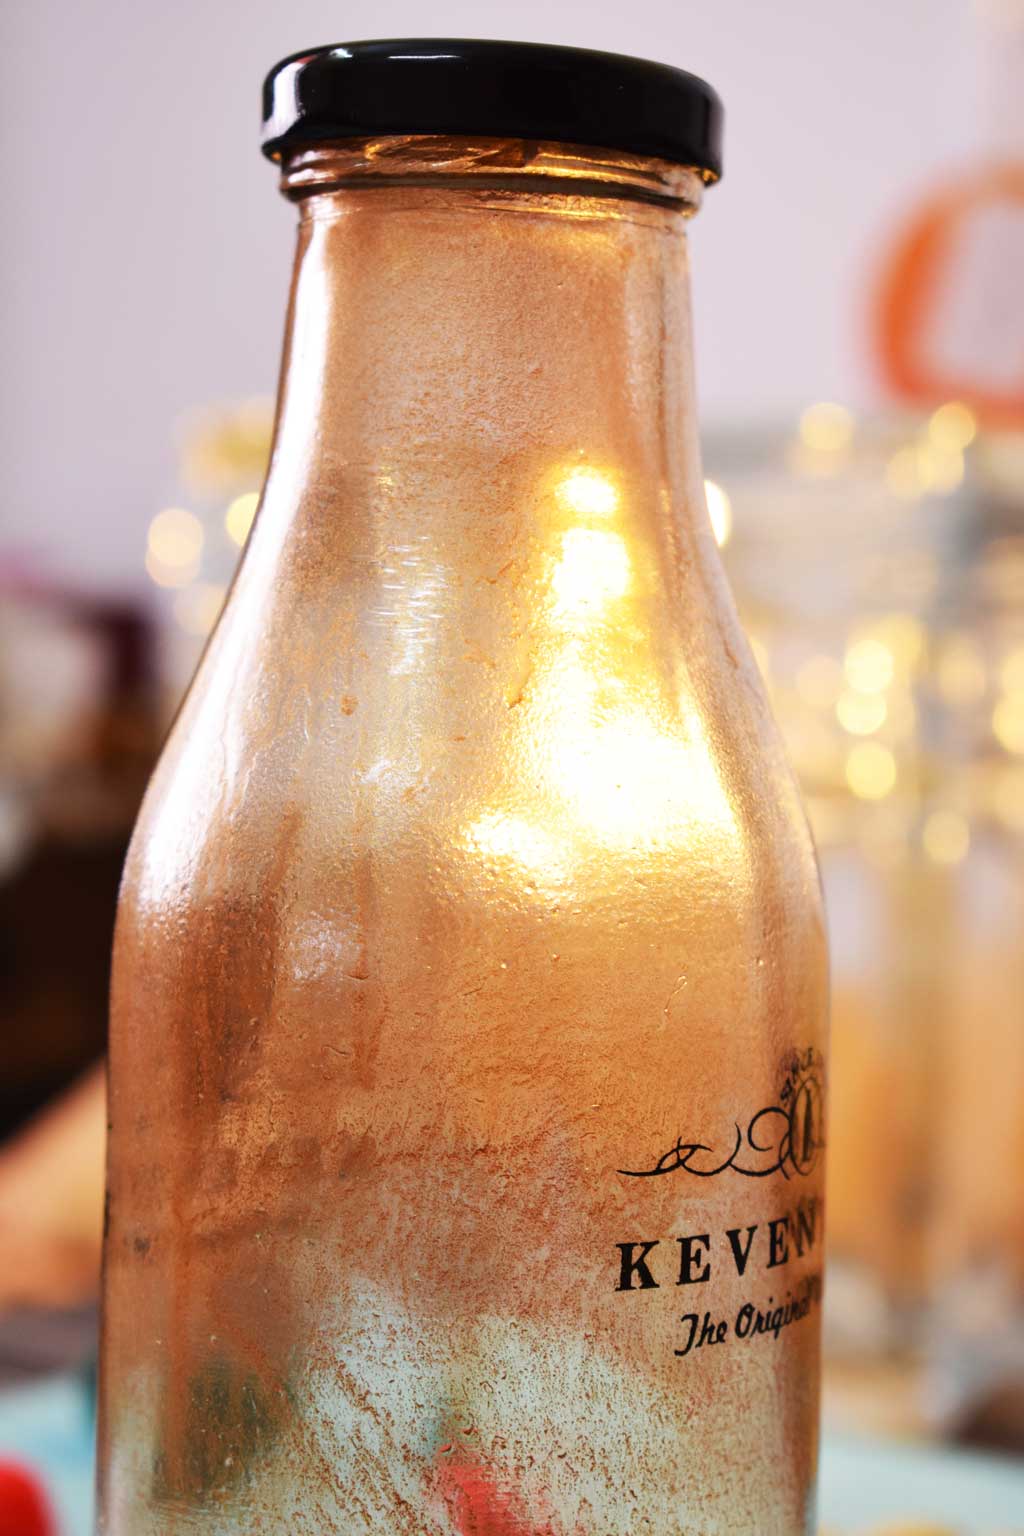
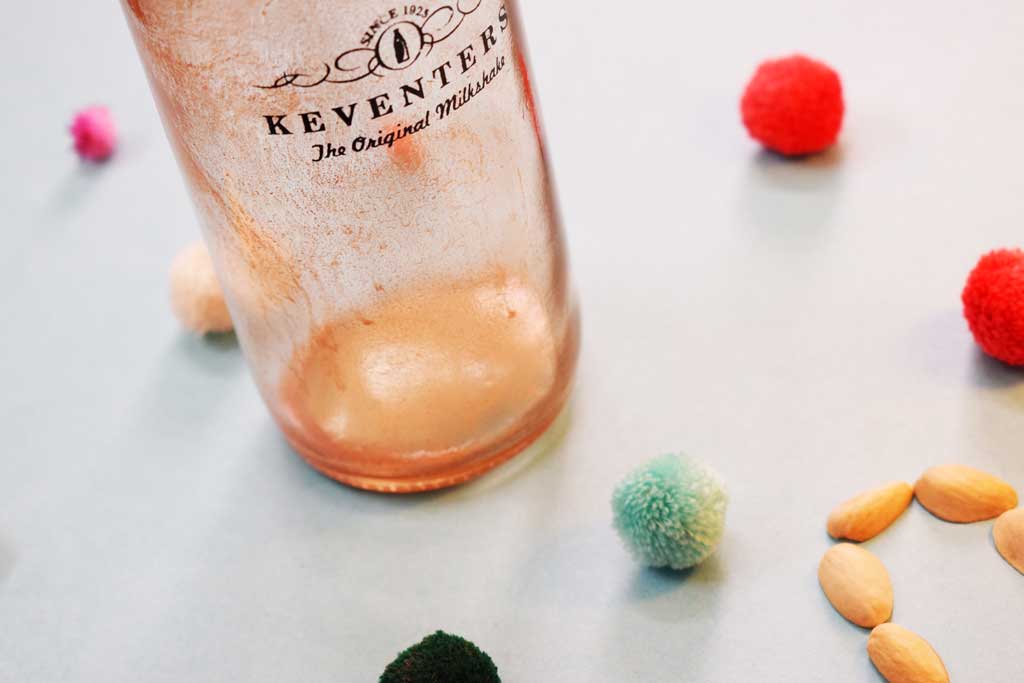
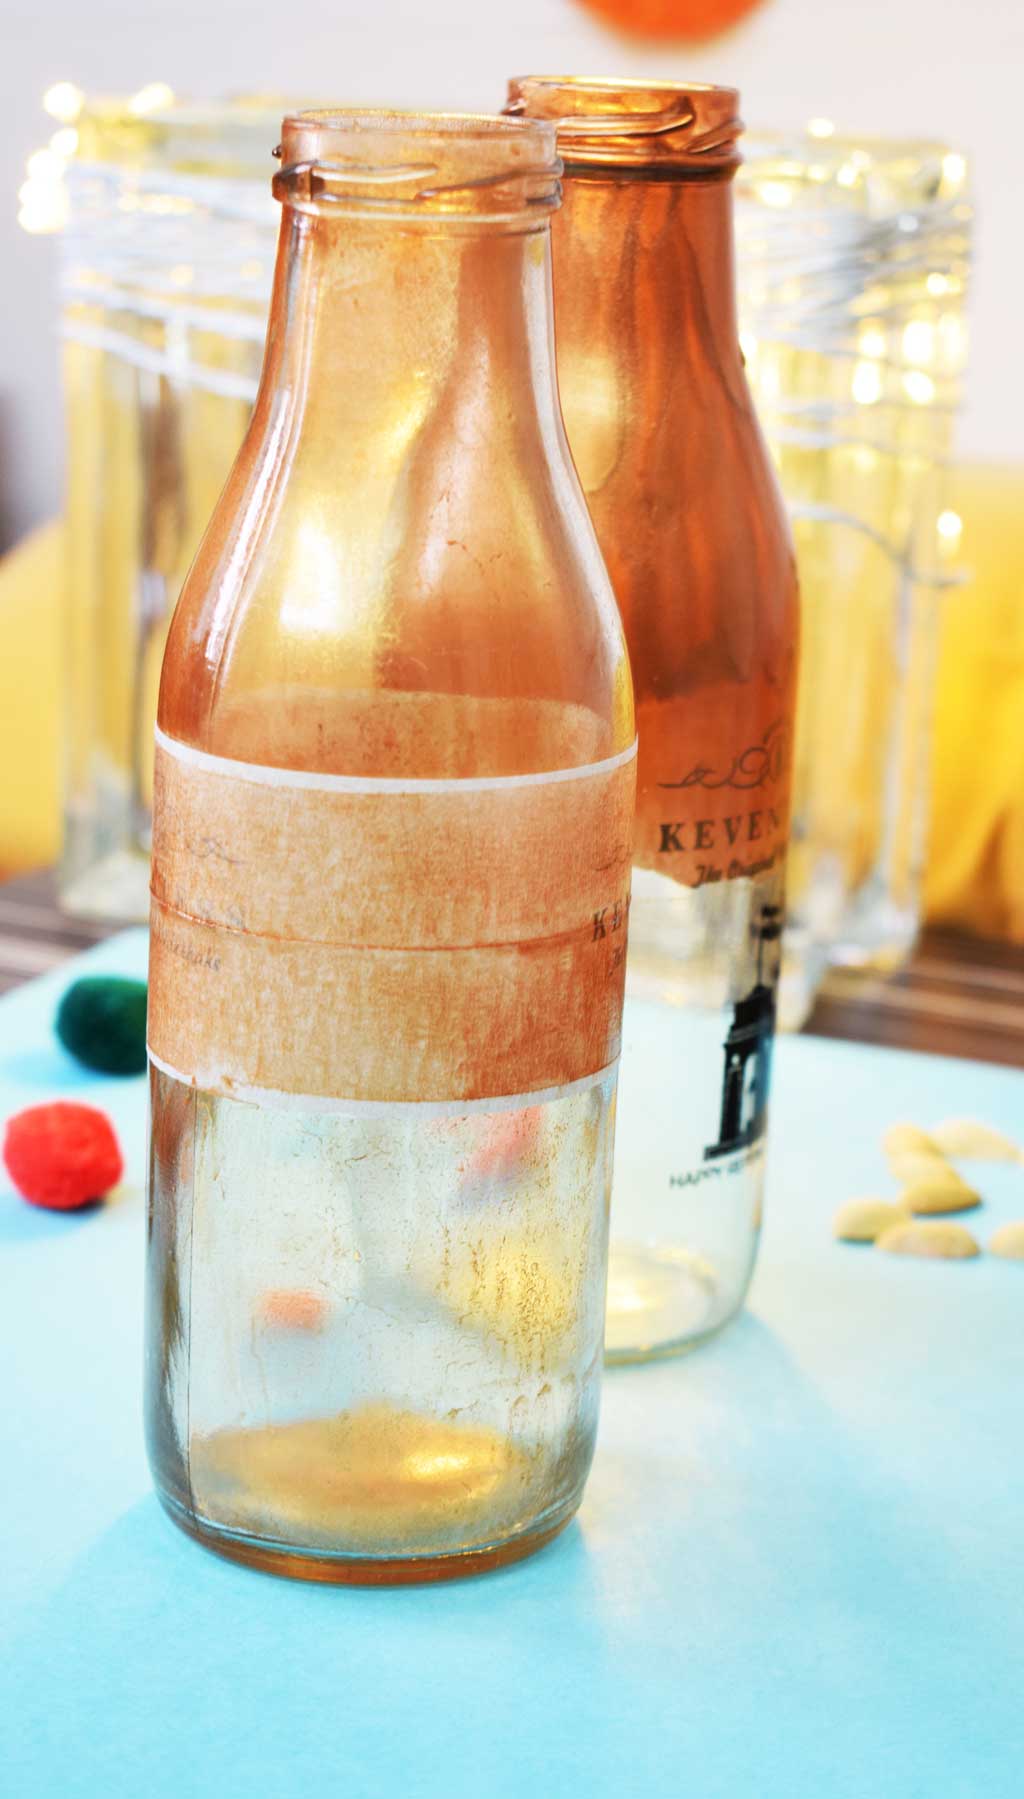
Step 2: For a rustic touch to a bottle, I sprayed rose gold colour simply from the mouth of the bottle and kept it for drying. Do not overspray, hold the button of the spray bottle lightly while spraying paint.
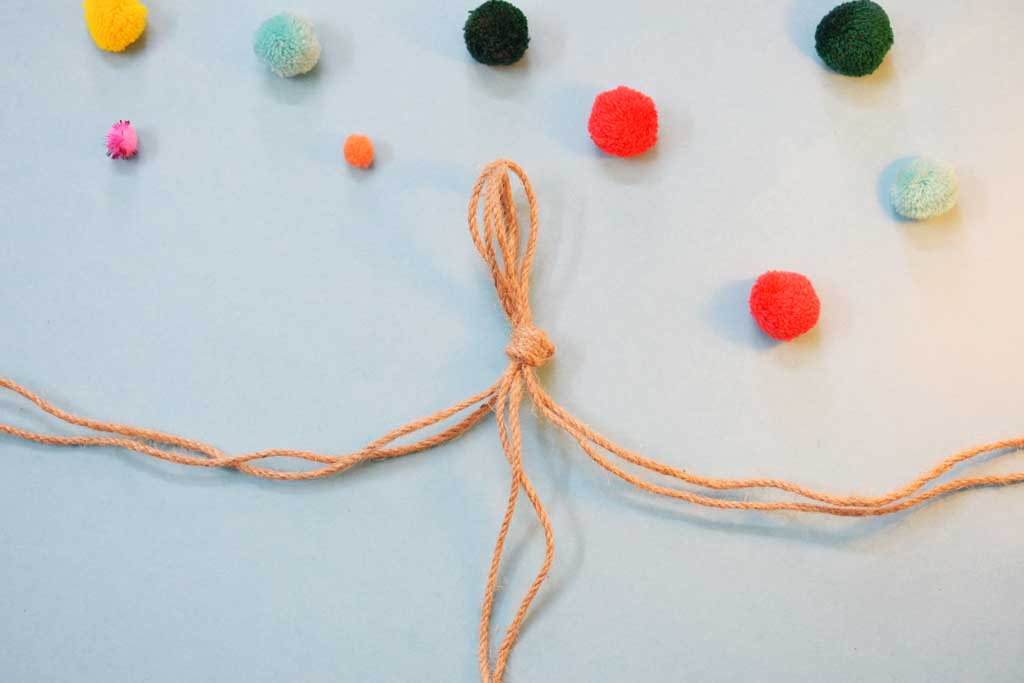
Step 3: For making Macrame planter holder, Cut six pieces of jute yarn that are three to five feet long, depending on how low you want your planters to hang.
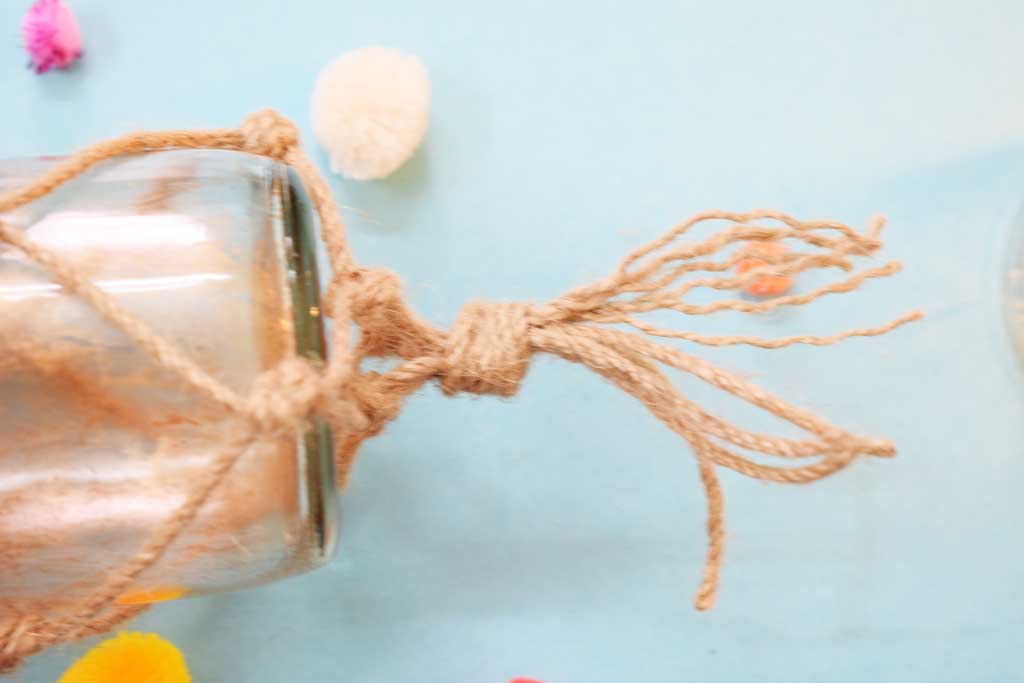
Step 4: Tie a knot on one end, leaving the excess material at the top like a tassel.
Step 5: Lay out your rope in three sections, with two pieces of rope per section.
Step 6: About an inch and a half down, tie a knot into each section.

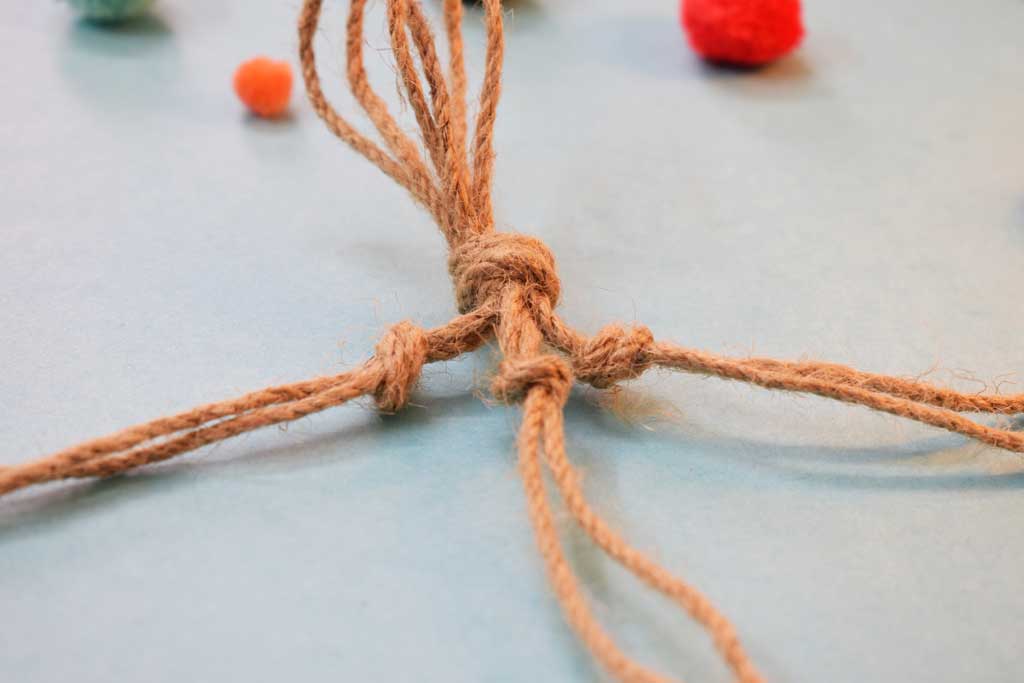
Step 7: Arrange your yarn so that it’s once again in a cross shape. For this next part, knot yarn together from adjacent segments.
Step 8: Once you’re done with that, arrange your yarn yet again in a cross shape, take the reference of the bottle to get the shape. Keep repeating this process until you reach the mouth of the bottle.
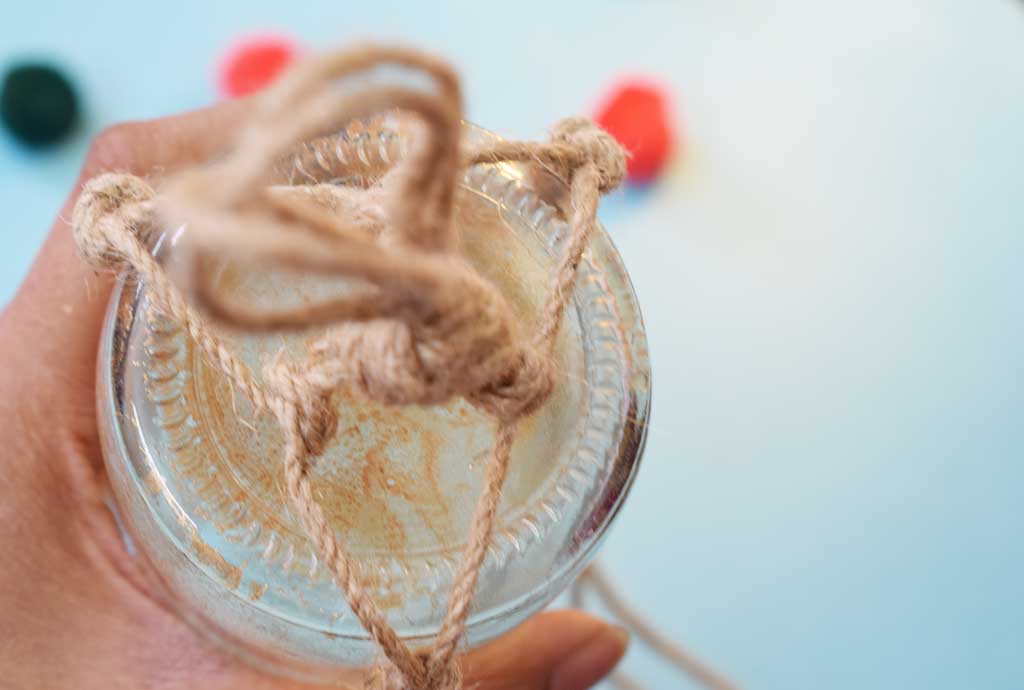
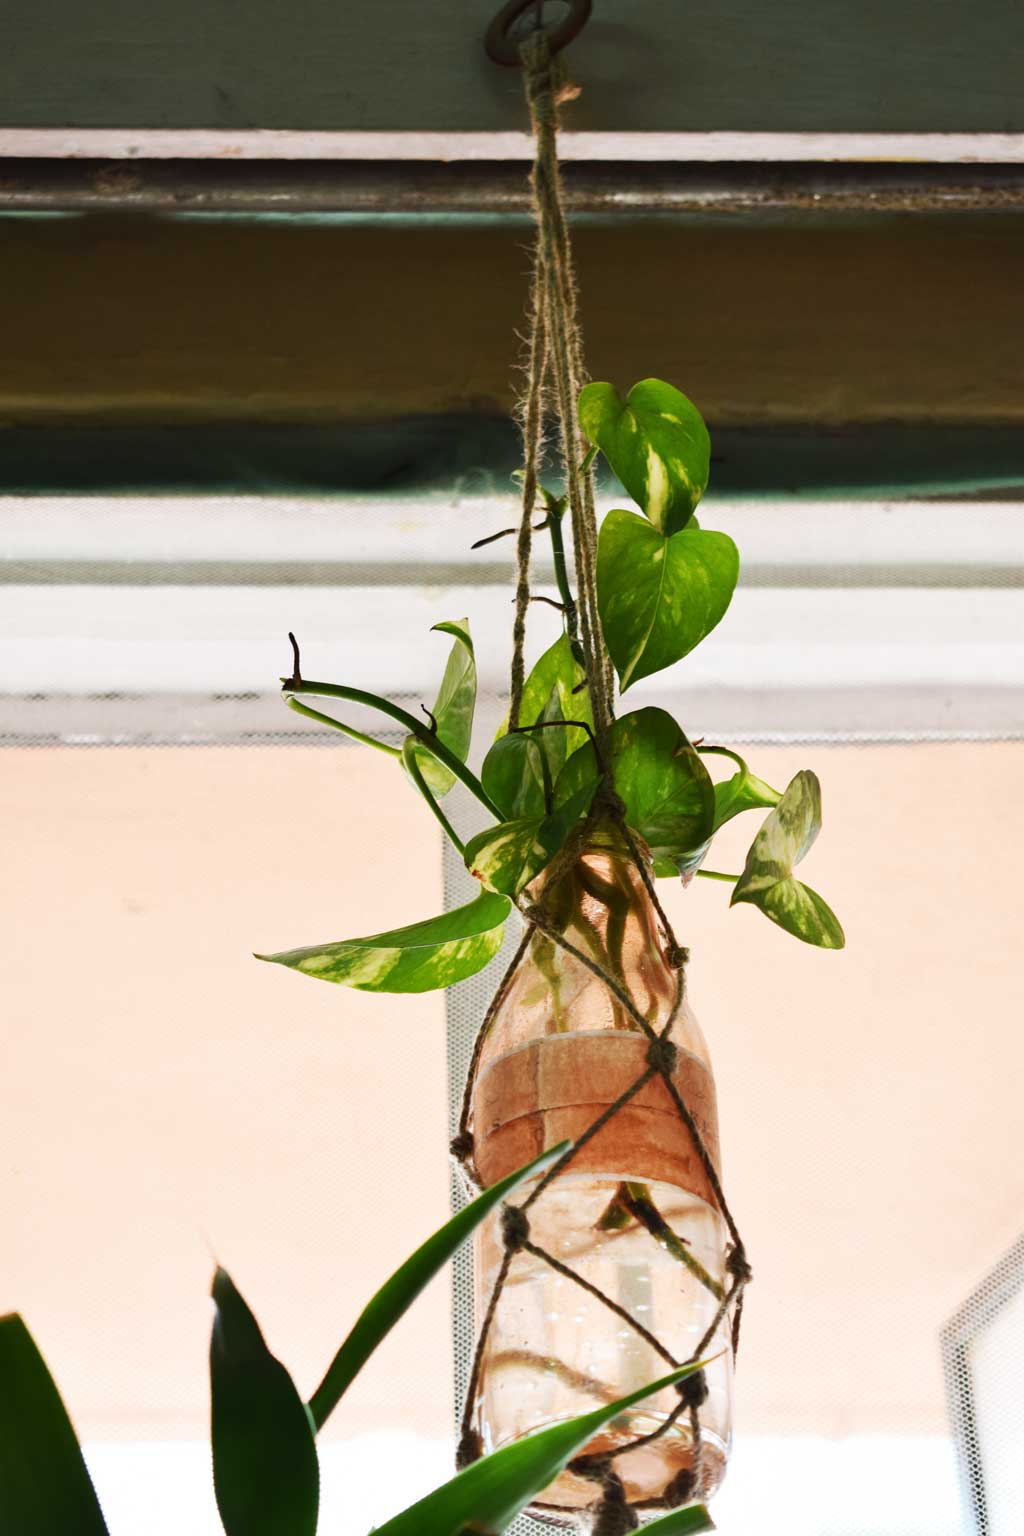
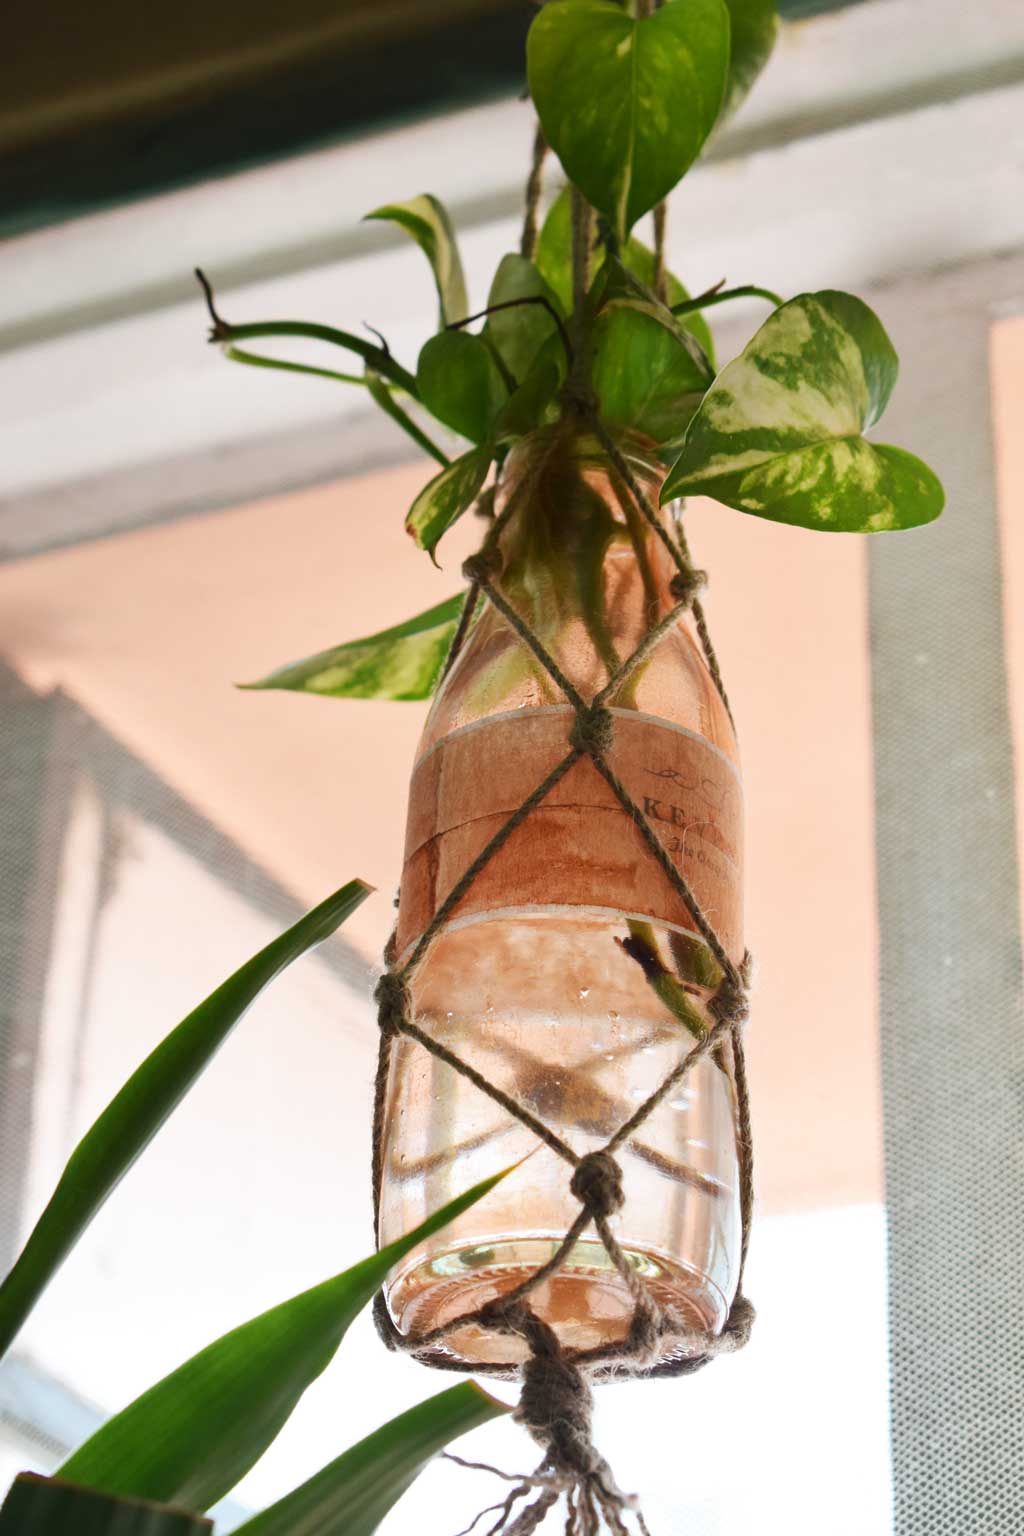
Step 9: Slide your bottle planter into the macrame net-like pouch you’ve created.

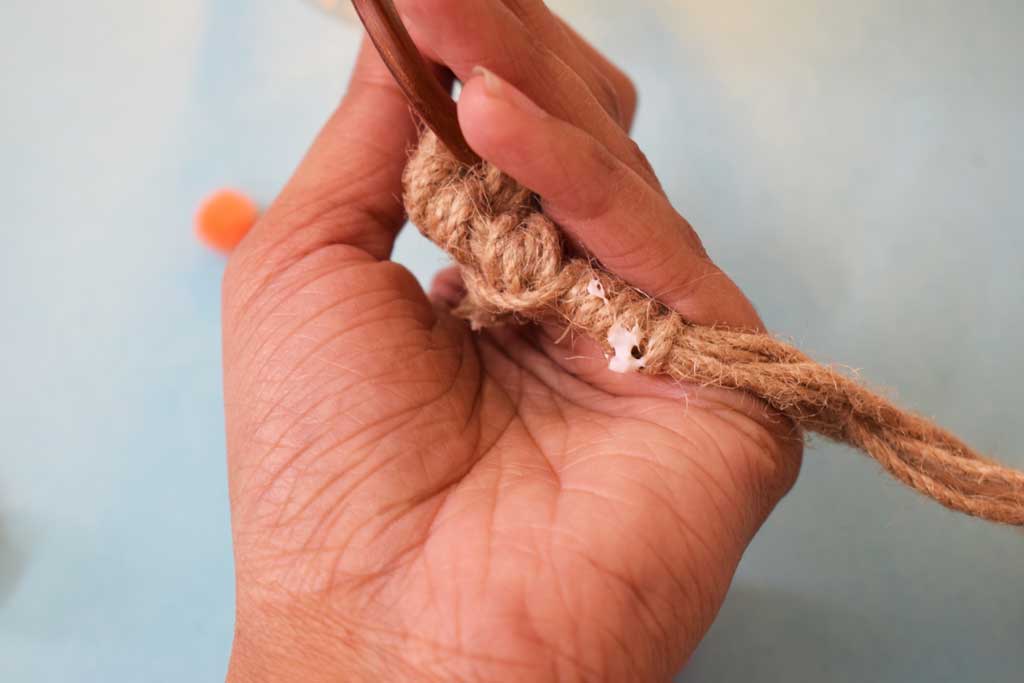
Step 10: For hanging this bottle planter, knot the other edge of the jute yarn with a hoop and fix it with a glue. Now cut the tassel-like yarn edge of the bottle hanger and untie the strands of tassel at the bottom of the bottle hanger.

Step 11: Just fill the bottle with water and put indoor water plant inside the bottle. Now you are ready to hang this cute upcycled planter anywhere in your home.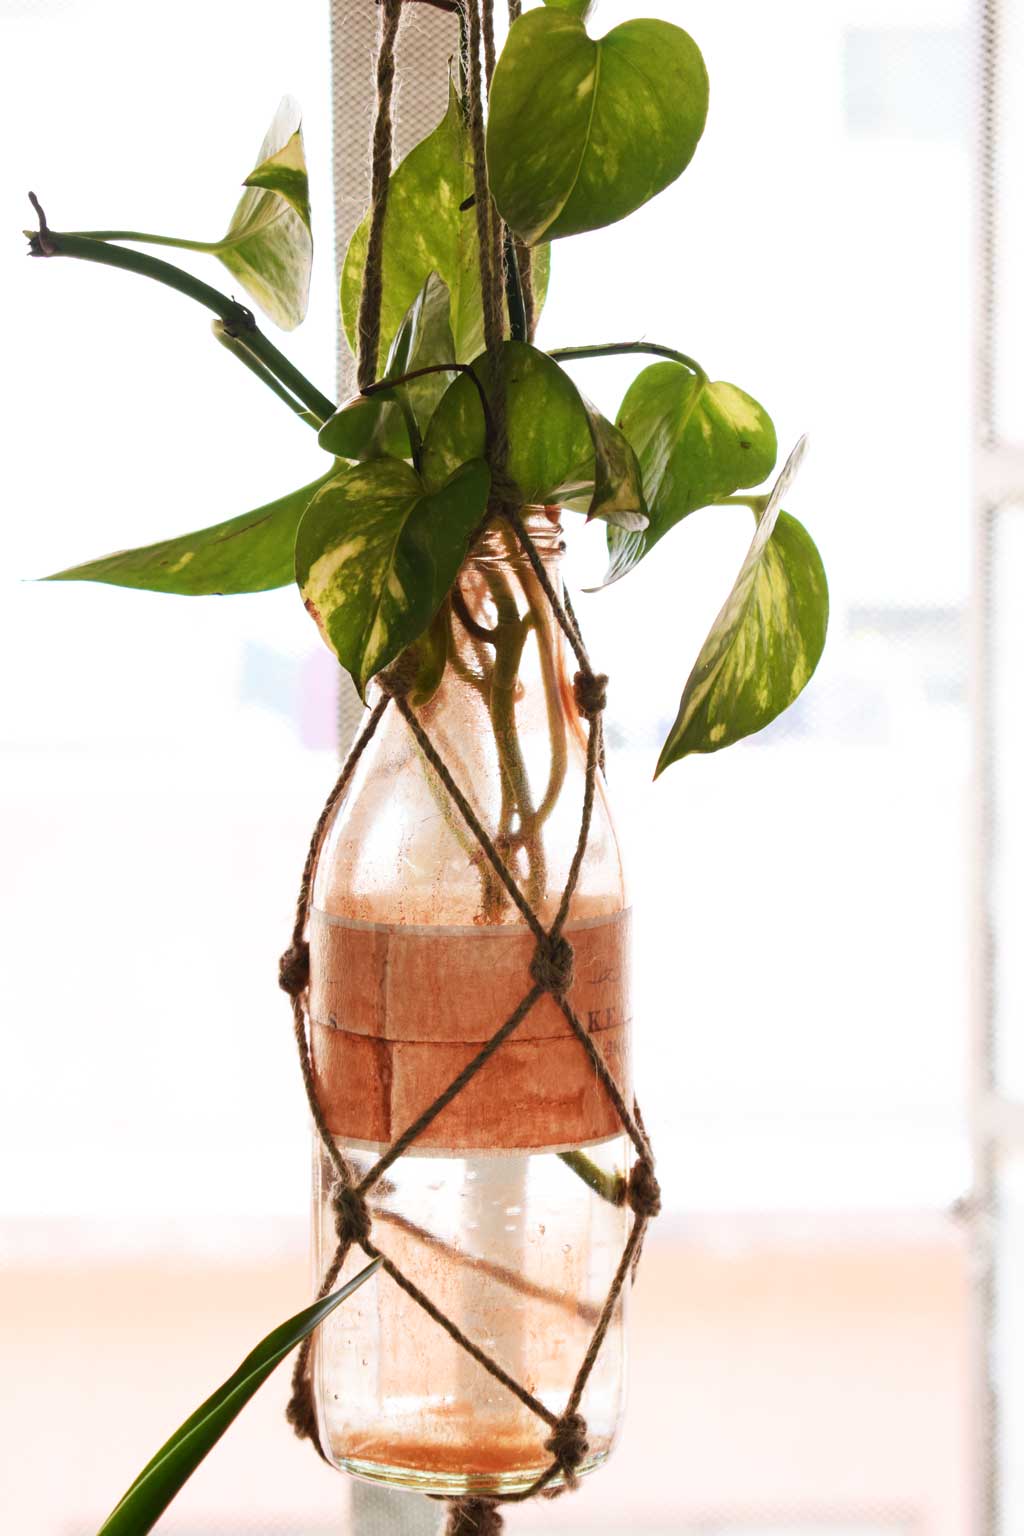
For more DIY Projects, click here.
Keep Crafting. xoxo 🙂