Hello, besties!! So, while traveling in a metro, I saw a girl wearing a blue color cotton shirt with cute little bugs printed on it, it was a block printing stamps. It was so adorable, that I cannot explain in words. I tried to find stamps like the one I saw in the metro but failed to get it. For that reason, I thought of making it all my own. I’ve gone through various permutations and combinations and finally landed to a conclusion. The result is stamping with clay as it would be long lasting but detailing would be little difficult. I will be taking objects which don’t require complex detailing.
You’ll need:
Fine Knife
Process:
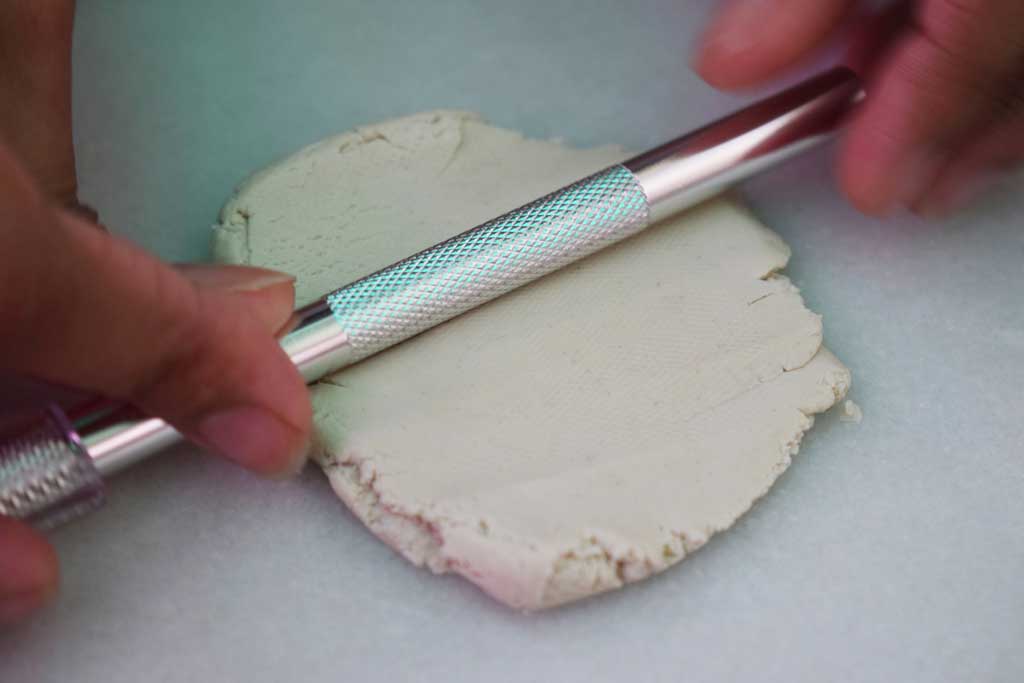
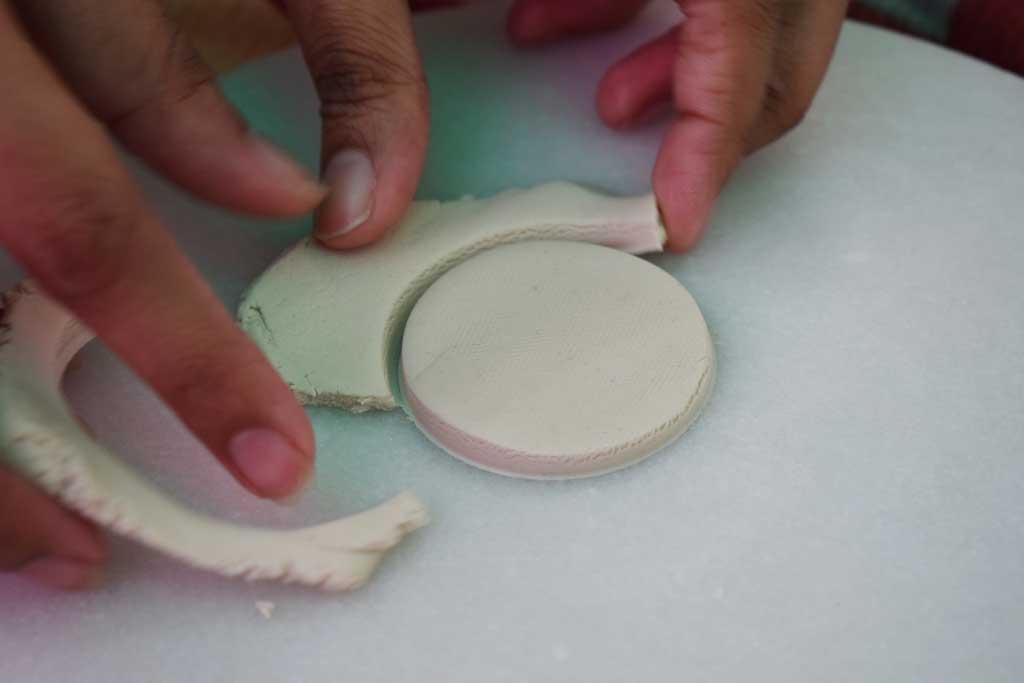
Step 1: Take the clay and flatten it to shape 2 cm thick layer. Now cut this thick sheet into approximately 2” diameter circular shape.

Step 2: I am carving simple shapes, so I just used the knife freehand. However, you can try more extreme shapes, just use a pencil to make an impression of the shape you want. Soon after, try to cut the clay not more than halfway through the thickness of clay (Here not more than 1 cm) according to the shape.
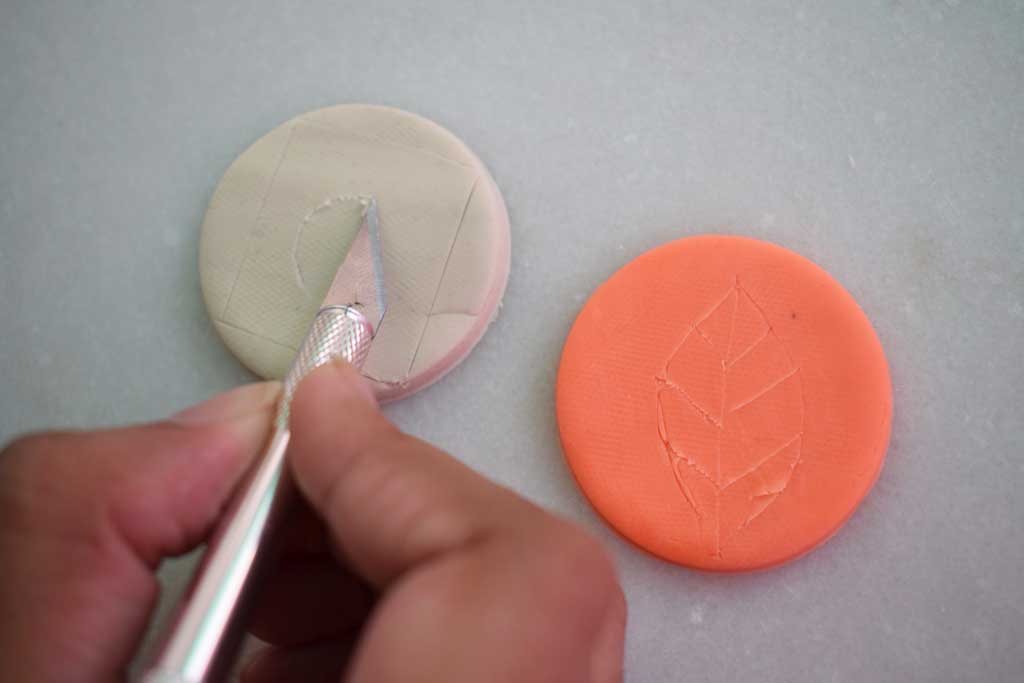
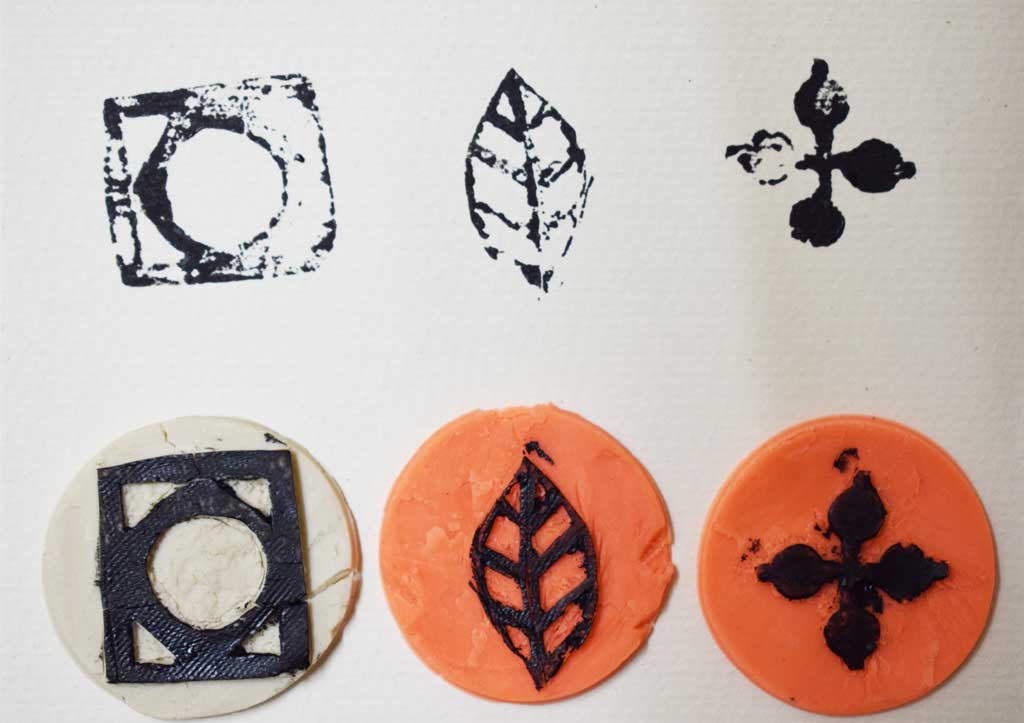
Step 3: Keep trimming away the excess clay to get the desired shape. You can use a fine knife for precise detailing. If you are ready with shape, leave it for 24 hrs to let it dry.
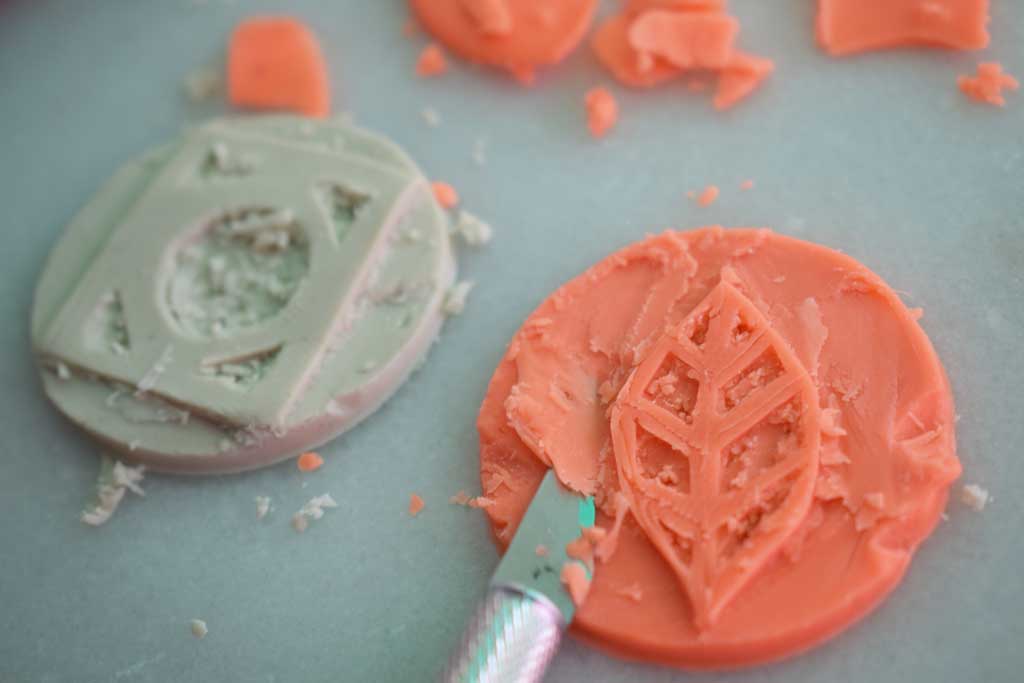
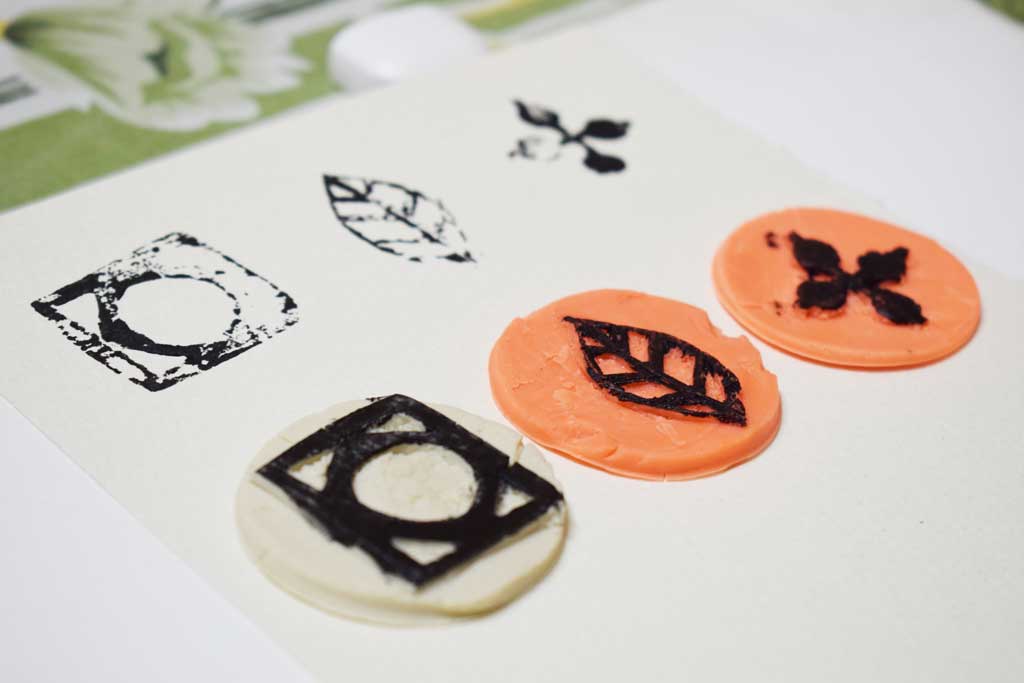
Step 4: Just ink them and stamp over. You can also add a little touch of rose embroidery in between the prints while printing it on your t-shirt, top or jeans.
If you like my first ever attempt of making stamps then please share it and follow ooshybooshy on Instagram, Facebook, and Twitter. Please share what you’ve been up to by using #madewithooshybooshy
Much love ~ ooshybooshy