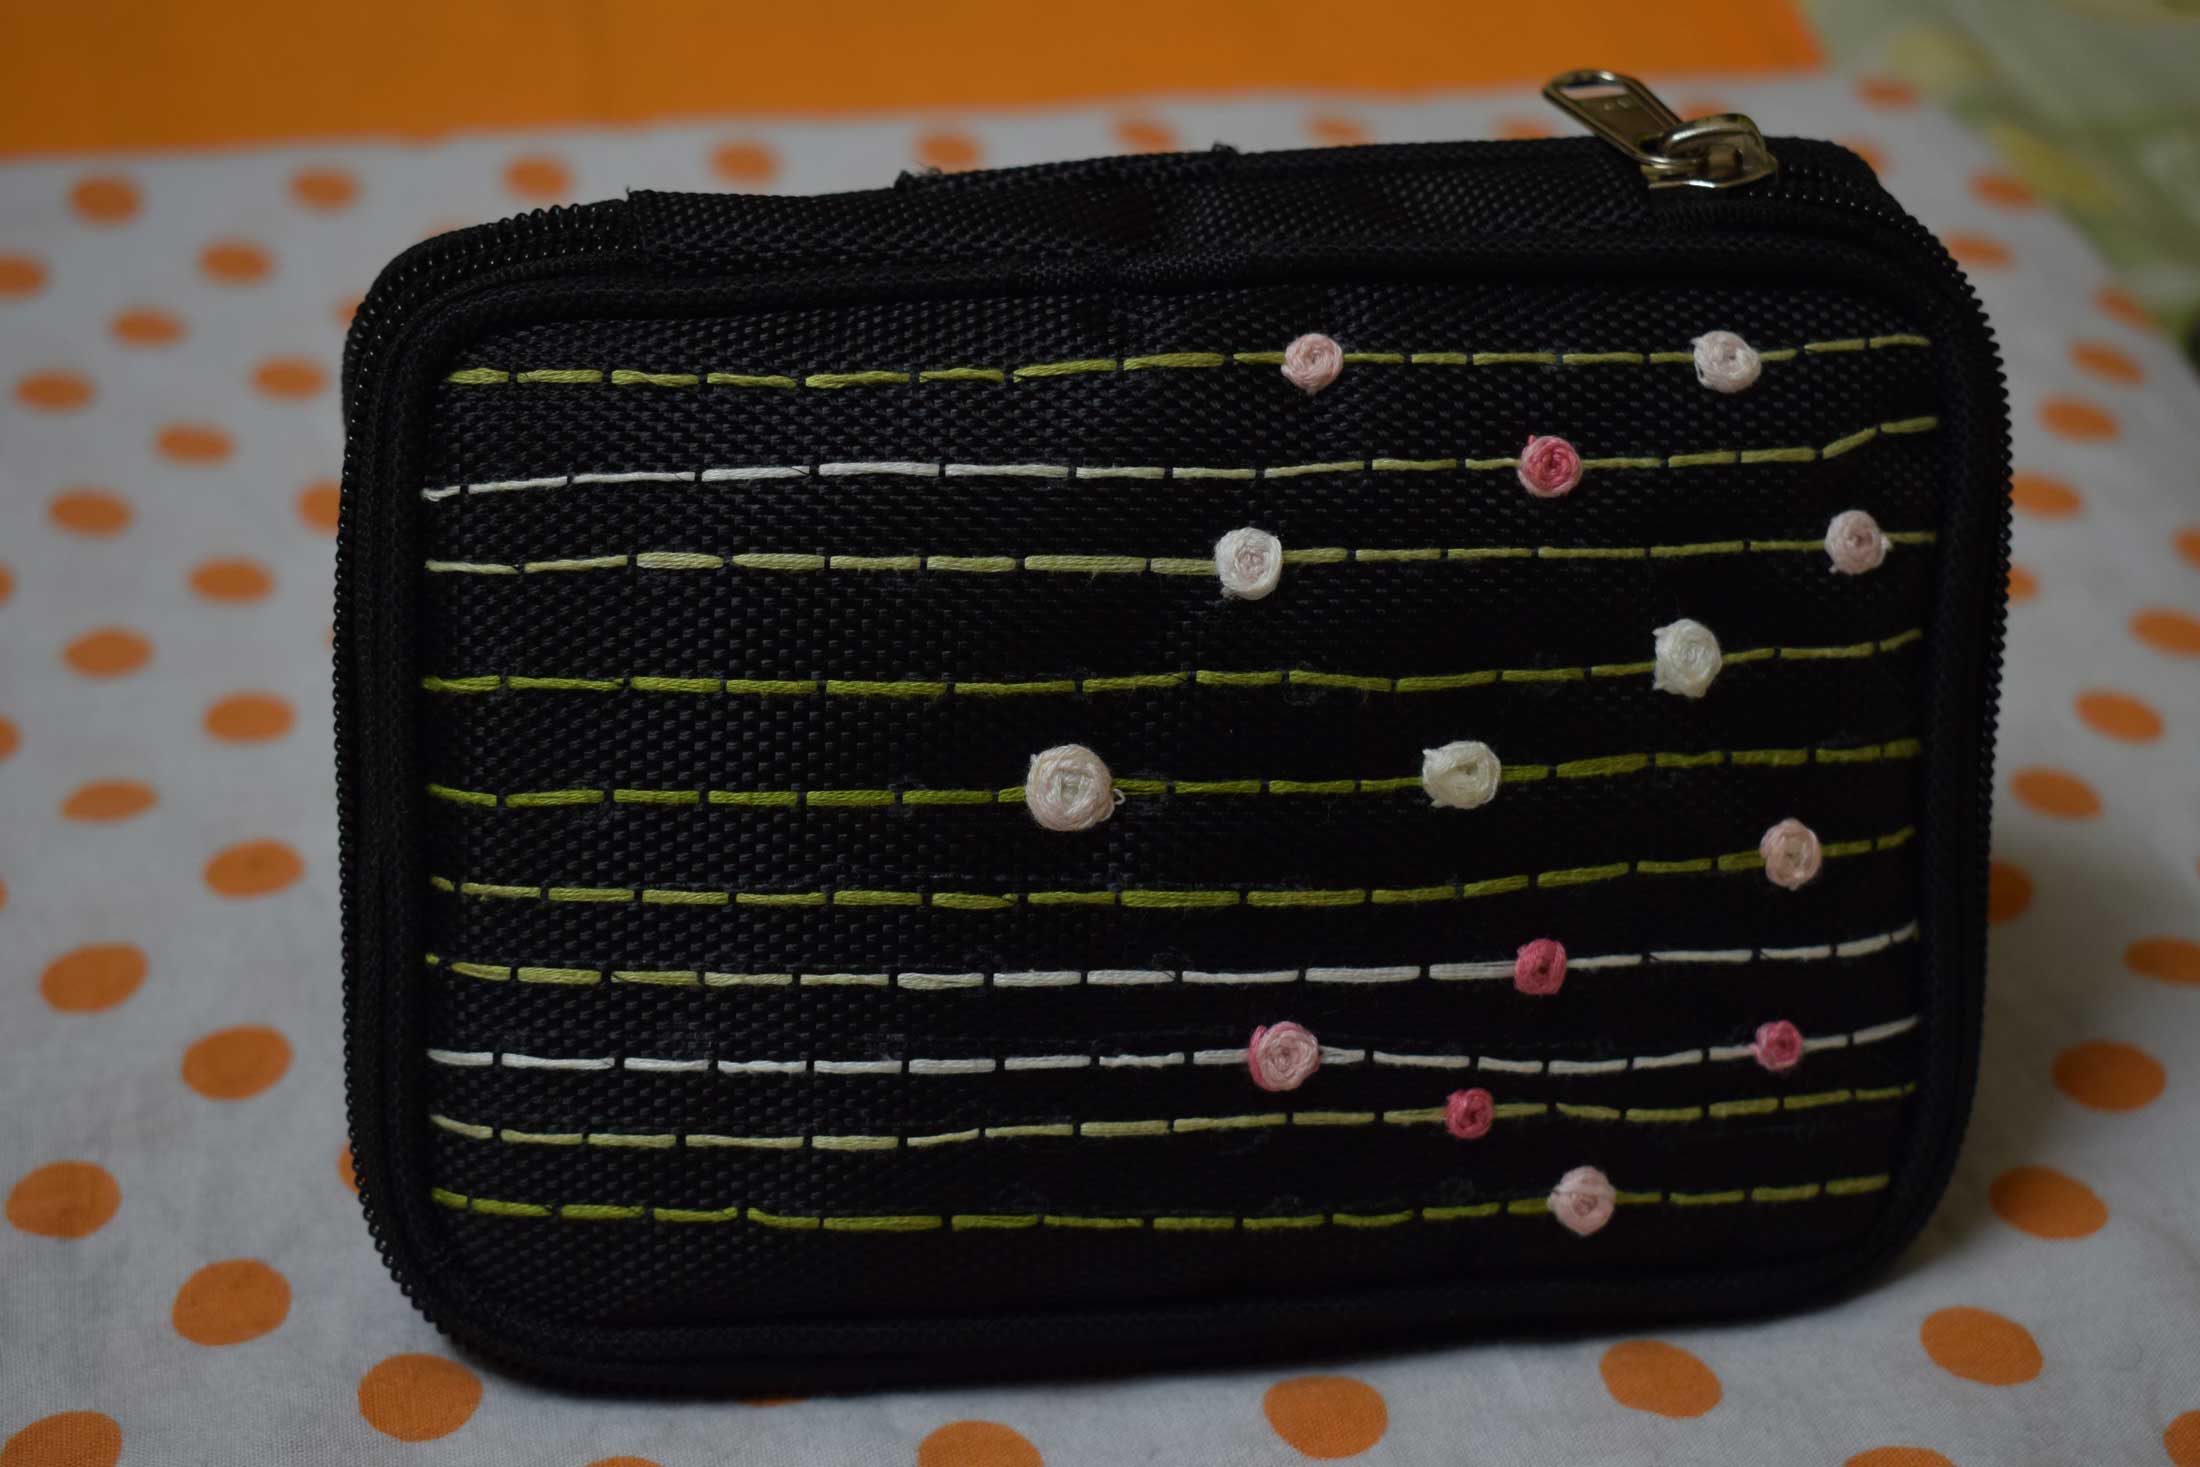
DIY
EMBROIDERED HARDDISK COVER
Last night, I was traveling from Delhi to Lucknow. O yeah!! Reached home, Finally home. My mom got surprised because it wasn’t planned. So, I’m here, “Nawabo ke shehar”, the English translation would be “city of Muslim nobleman”. Correct me if I’m wrong. The art of lucknawi chikankari is very famous and exported worldwide. Since I’m here in lucknow, I’m considering of buying a nice chikan kurta and witness chikankari workers live. I will definitely make a small trip to one of these handlooms. The trip will happen in sometime near future before that, I am thinking of decorating my plain black hard disk cover to transform into an embroidered harddisk cover. I personally don’t know sewing and embroidery much, yet curiosity is making me do this. I hope it will turn out in good shape. Now let’s get started…
Supplies needed:
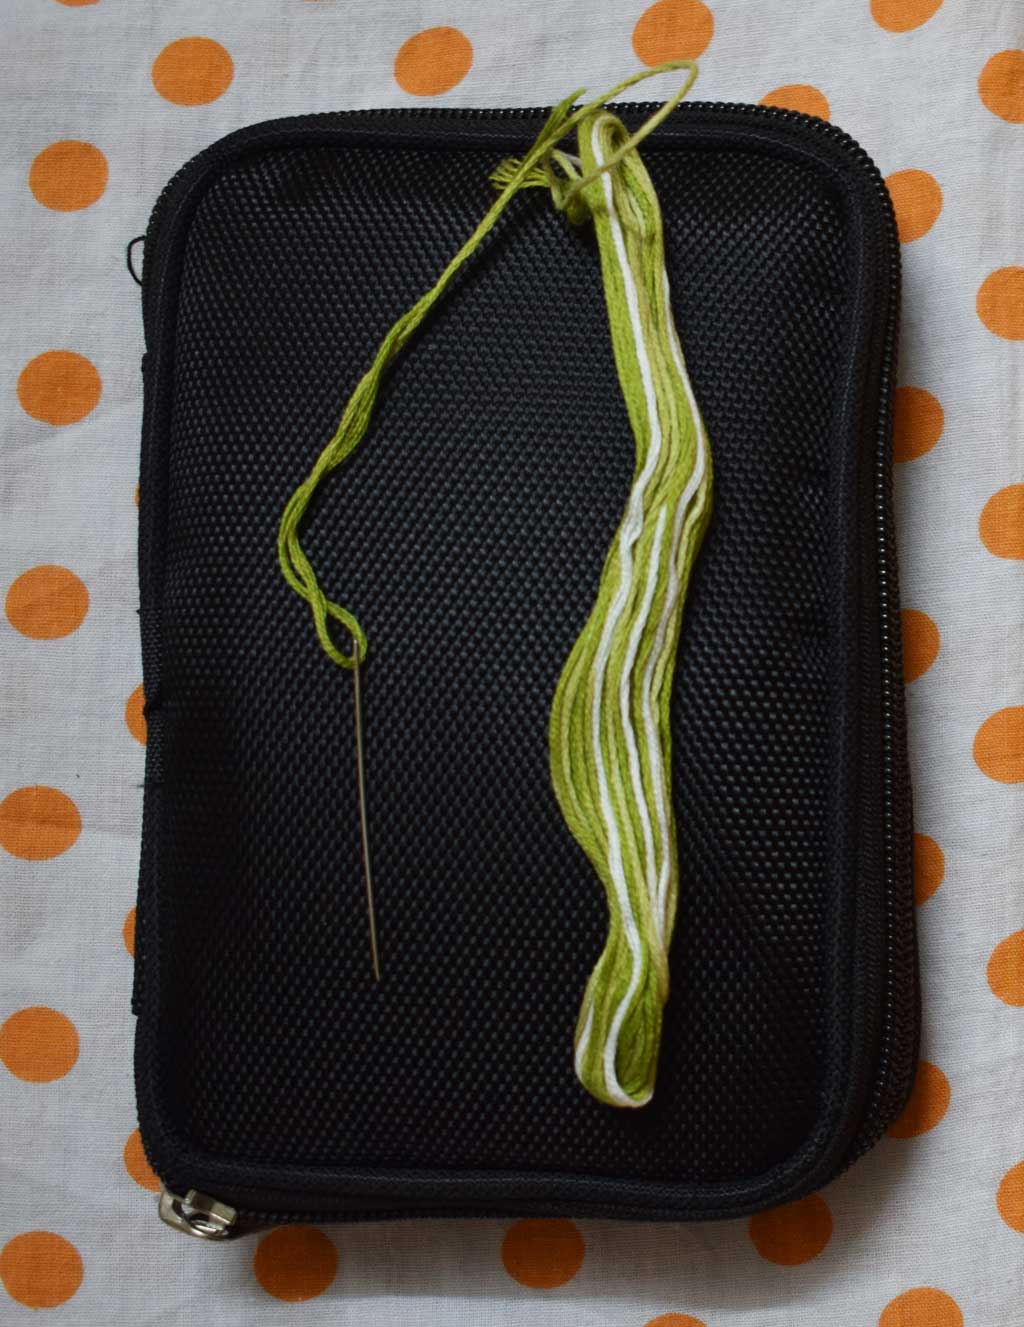
Plain hard disk cover
Embroidery Thread
Needle
Process:
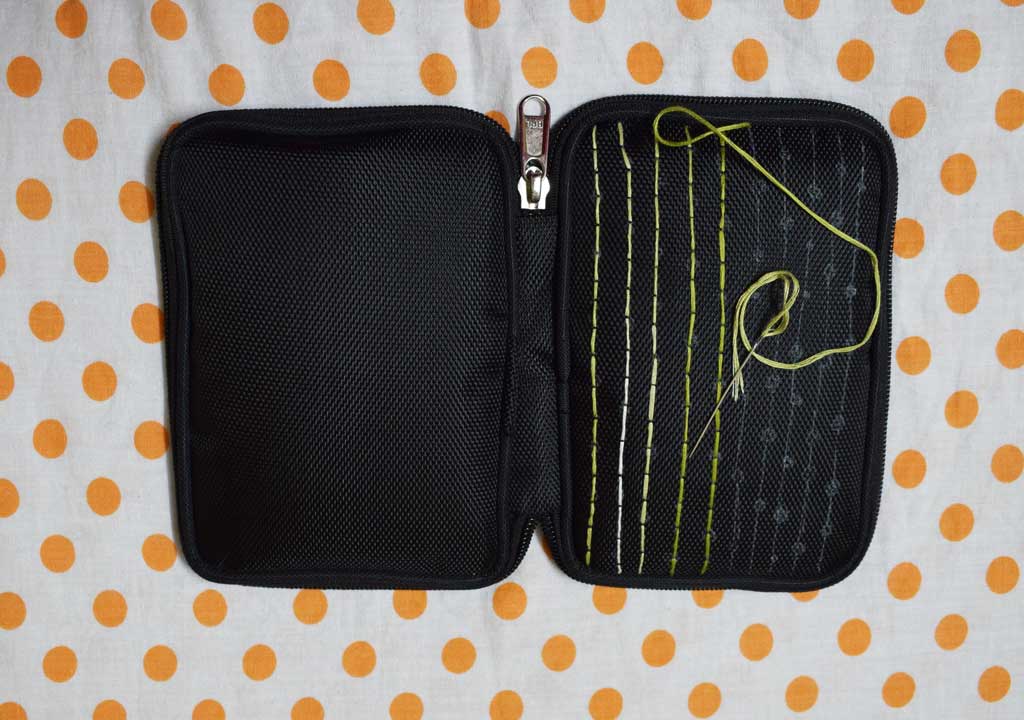
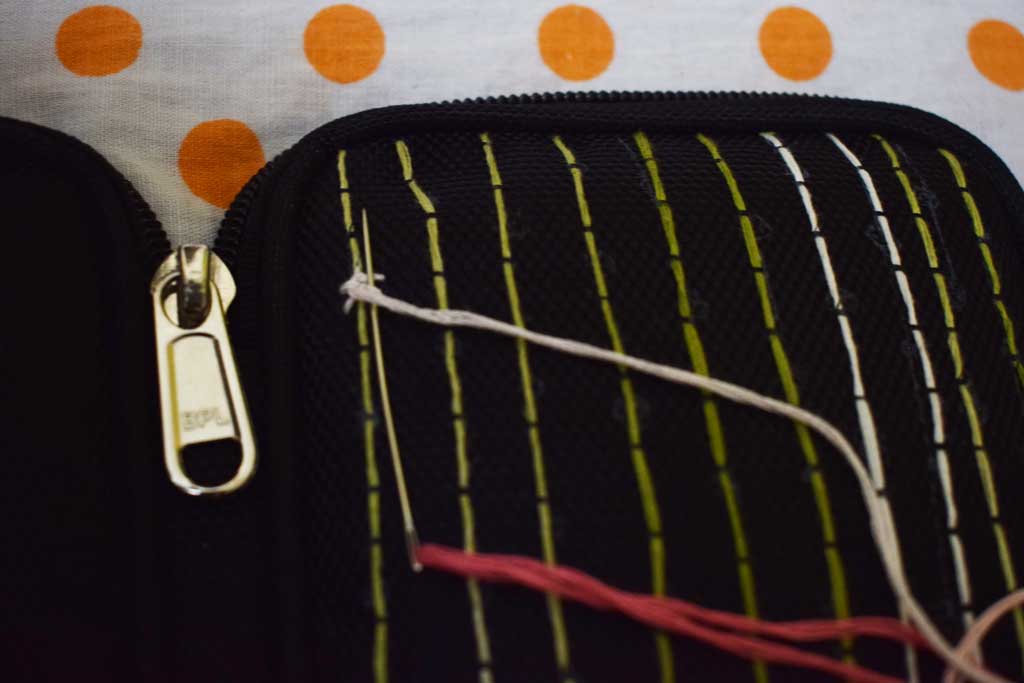
There are two parts in this diy: the first one is the simple running stitch and the second one is the spider web stitch.
Spiderweb rose stitch
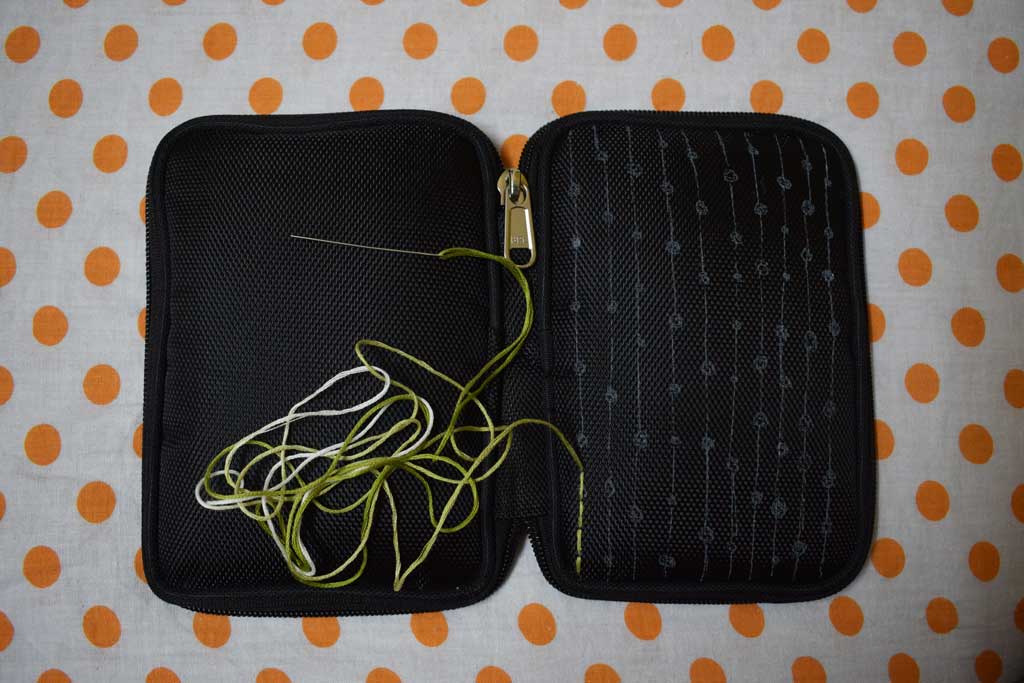
Step 1: Create the web stitches with floss.
Step 2: With thread or ribbon, come up from the center of the web.


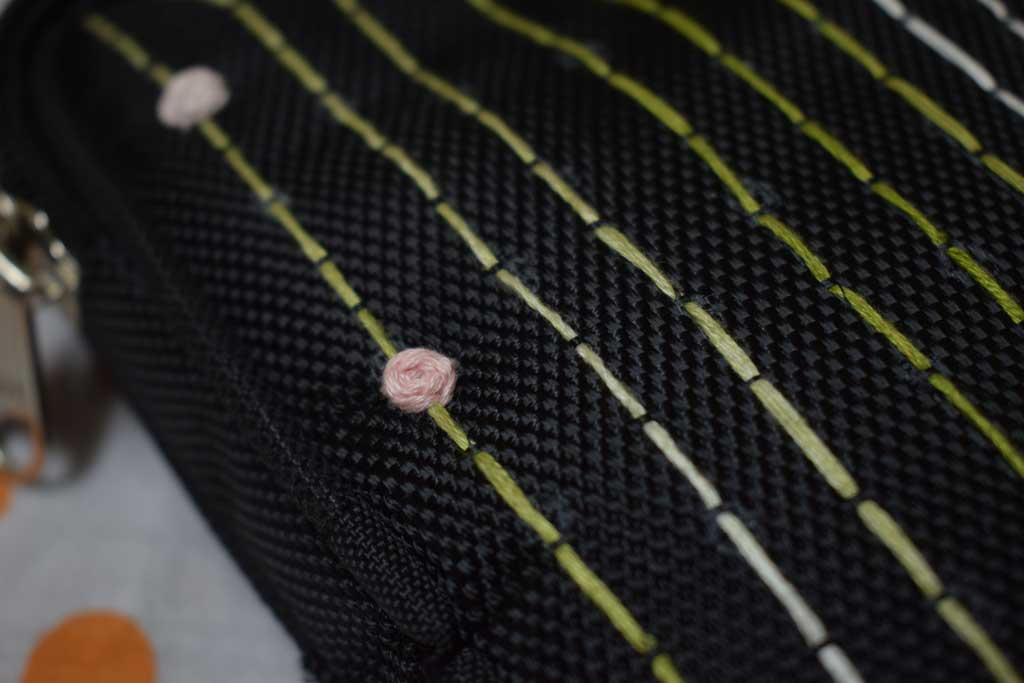
Step 3: Slide needle under one of the stitches.
Step 4: Skip the next stitch and go under the next one.
Step 5: Repeat the process until the web fills completely and you get the desired rose shape.
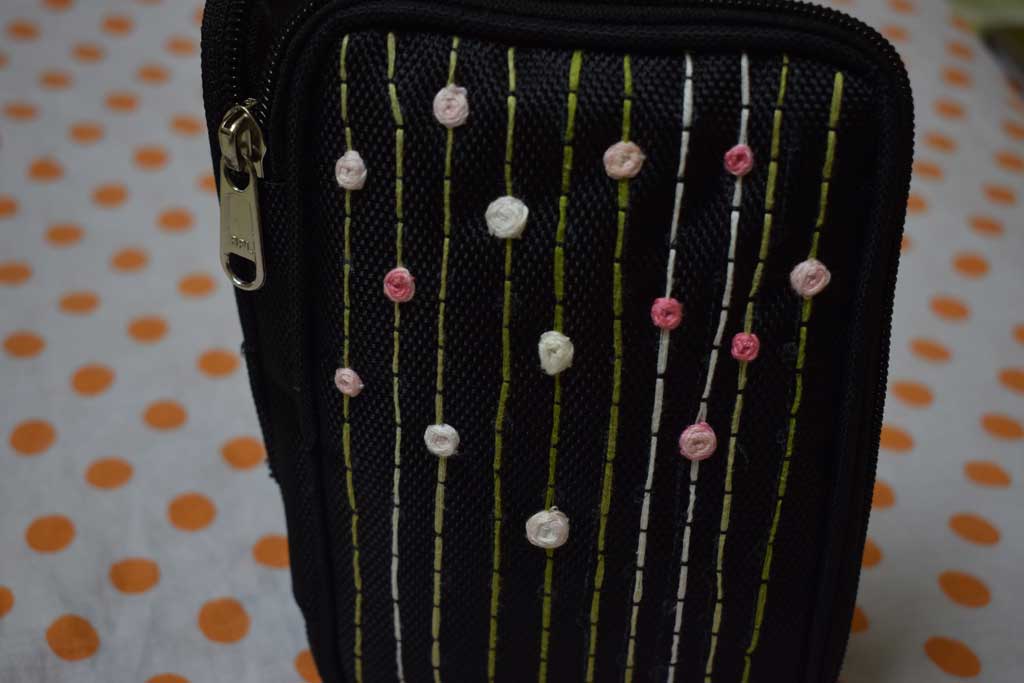
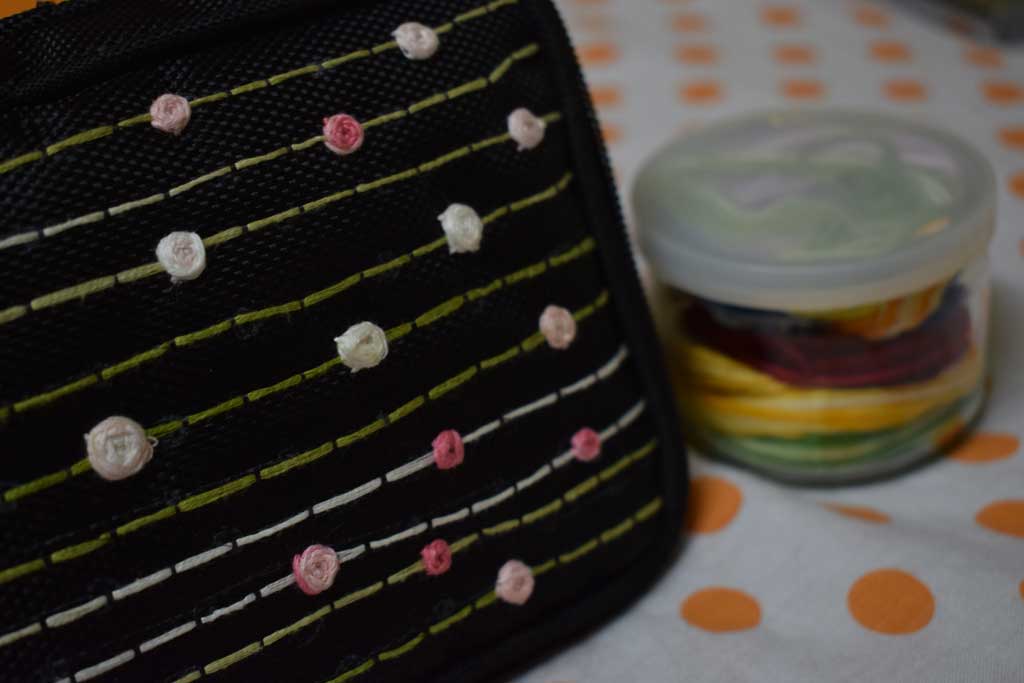
This is my first ever trial of embroidery and I would say I enjoyed a lot doing this. So, if you like this diy then please share it and follow ooshybooshy on Instagram, Facebook, and Twitter. Please share what you’ve been up to by using #madewithooshybooshy
Much love ~ ooshybooshy